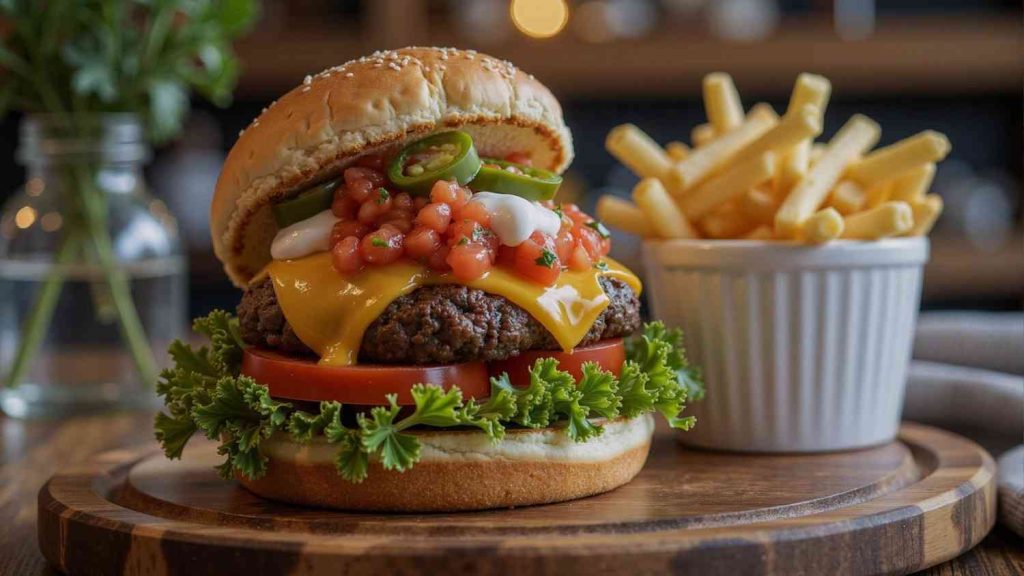

I have eaten a lot of hamburger in my life. From fast-food chains to fancy restaurant patties, I thought I knew what a great hamburger tasted like. But nothing — and I mean nothing — prepared me for the moment I bit into my own homemade hamburger for the first time and thought: this is it. This is the best burger I have ever had.
I know that sounds dramatic. But after years of testing, tweaking, and honestly failing more times than I care to admit, I finally cracked the code on homemade hamburgers. And today I am sharing everything — the exact method, the secret ratios, and all the little tricks that transformed my patties from flat, dry, and forgettable to juicy, flavor-packed, and absolutely craveable.
Whether you are cooking on a stovetop, a grill, or even a tiny hot plate in a hotel room (yes, I have done that too), this hamburger recipe works. Let me walk you through it.
Why I Stopped Buying Store-Bought Patties
For a long time, I grabbed pre-formed frozen patties from the grocery store. They were convenient, sure — but every single time, I ended up with something rubbery, oddly seasoned, and weirdly uniform. There was no soul in them.
The turning point came when I started making my own ground beef blend at home. I asked my butcher to grind a mix of chuck and brisket together — 80% lean, 20% fat — and I brought it home and shaped it myself. The difference was immediate and shocking. The fat content matters enormously. Too lean and the patty dries out. The right ratio keeps it juicy all the way through, even when fully cooked.
That single change convinced me: homemade hamburgers are always worth the extra ten minutes of effort.
The Ingredients I Use (and Why Each One Matters)
Here is my exact ingredient list for four generous patties:
| 500g ground beef (80/20 chuck and brisket blend) | 1 teaspoon salt (I use kosher salt) |
| 1 teaspoon garlic powder | 1 tablespoon Worcestershire sauce |
| 1 teaspoon onion powder | 1 egg yolk (my secret weapon — more on this below) |
| 1 teaspoon smoked paprika | Butter for toasting the buns |
| 1/2 teaspoon black pepper (freshly ground) | Your choice of toppings: I always go for caramelized onions, sharp cheddar, lettuce, tomato, and a good homemade burger sauce |
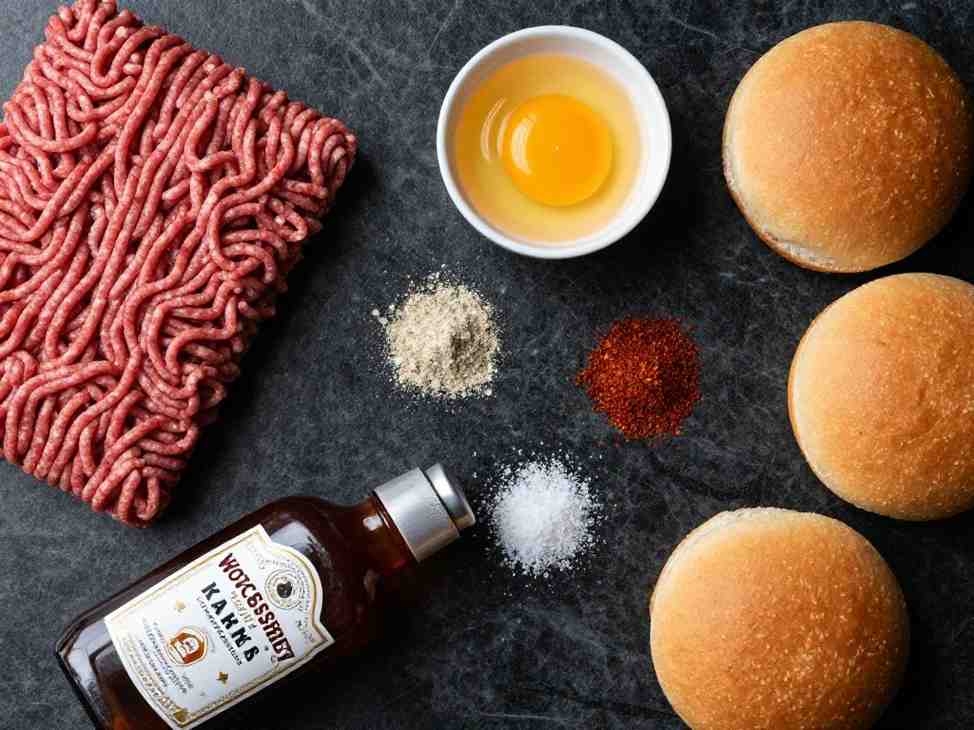
Let me explain a couple of these. The Worcestershire sauce adds a deep, savory umami layer that you cannot quite name but absolutely miss when it is gone. I discovered this by accident — I was out of soy sauce one day and grabbed the Worcestershire bottle instead, and I never looked back.
The egg yolk is something I started adding after my patties kept falling apart on the grill. Just the yolk — not the whole egg — gives enough binding without making the texture dense or eggy. It changed everything for me. My patties hold their shape perfectly now, even when I flip them aggressively.
How I Mix and Shape the Hamburger Patties (the Step Most People Get Wrong)
I used to over-mix my burger meat. I would knead it like bread dough, trying to get everything evenly combined. Big mistake. Over-working the beef develops the proteins and you end up with a dense, tough patty. Now I mix everything with my hands just until combined — maybe 30 seconds — and I stop.
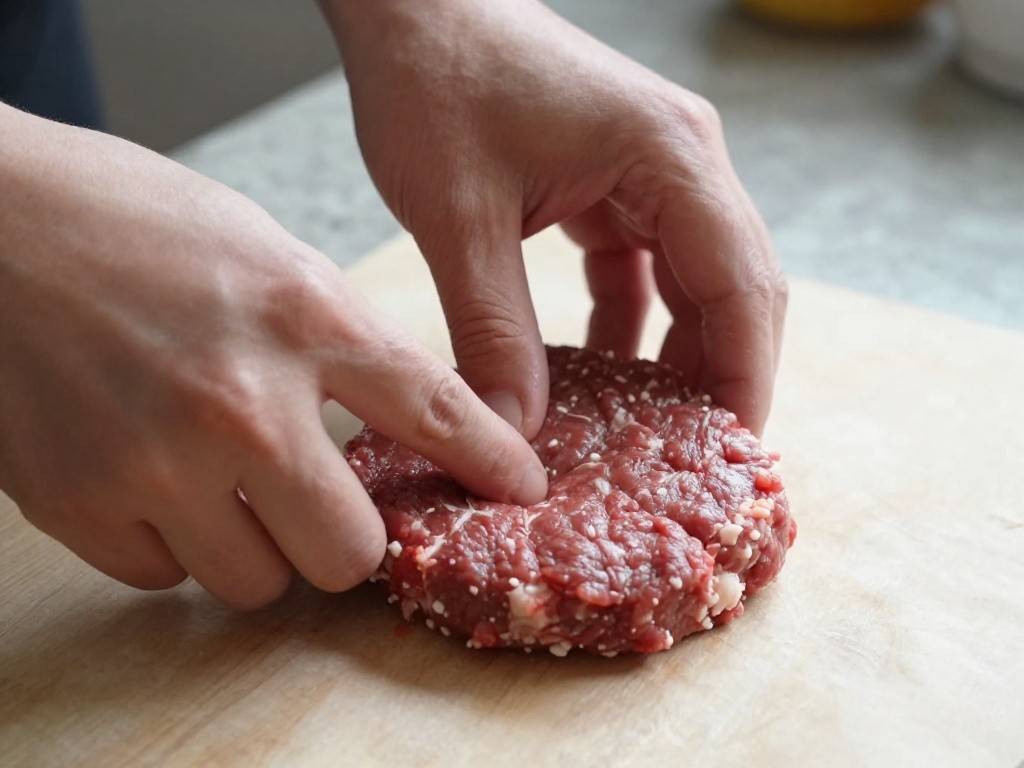
For shaping, I divide the mixture into four equal balls and then gently press each one into a disc about 1 cm thicker than I want the final burger to be. Here is a tip I picked up after ruining many patties: I press a small dimple into the center of each one with my thumb. This prevents the patty from puffing up into a dome shape during cooking.
Then I refrigerate the shaped patties for at least 20 minutes before cooking. Cold patties hold their shape better on the heat. I once skipped this step when I was impatient and my patties shrank and deformed. Never again.
My Cooking Method for the Best Hamburger Every Time
I have cooked these patties on everything — a cast iron skillet, a non-stick pan, a BBQ grill, and yes, even a small hot plate when I was staying in a tiny apartment abroad. The method adapts, but the principles stay the same.
On the Stovetop (My Preferred Method)
Here is exactly what I do:
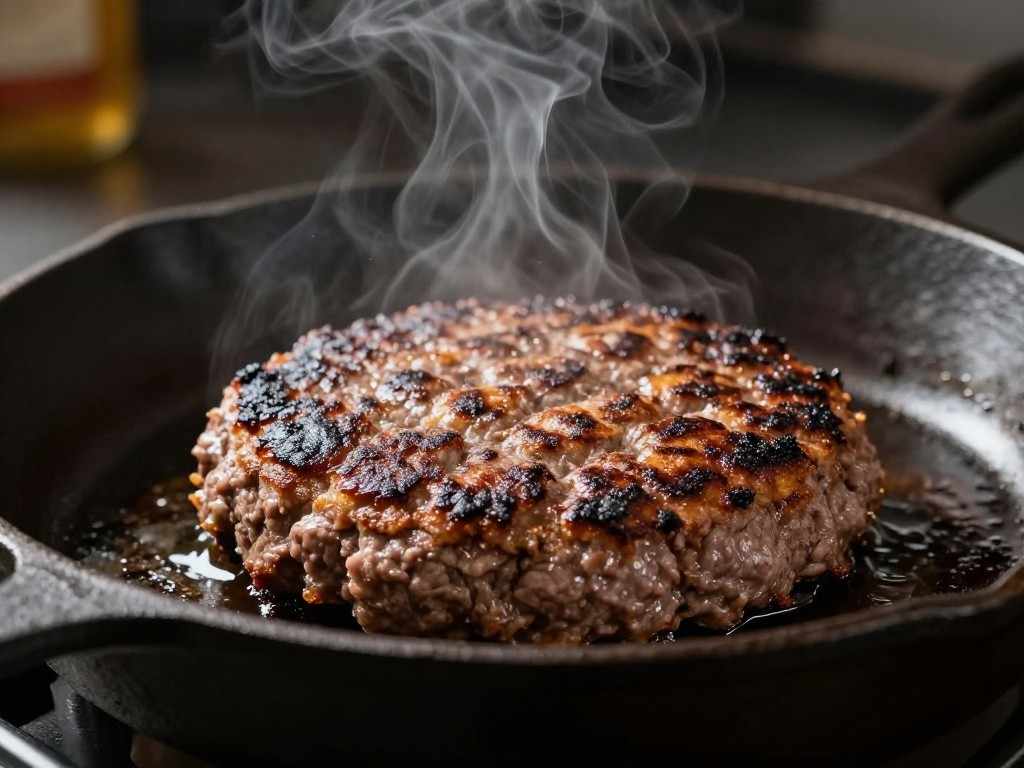
- Heat a cast iron skillet over high heat until it is seriously hot — I wait until I see a faint wisp of smoke.
- I add no oil. The fat in the beef takes care of everything.
- Place the patty in the pan and do not touch it for 3 to 4 minutes. Let the crust form. That crust is where all the flavour lives.
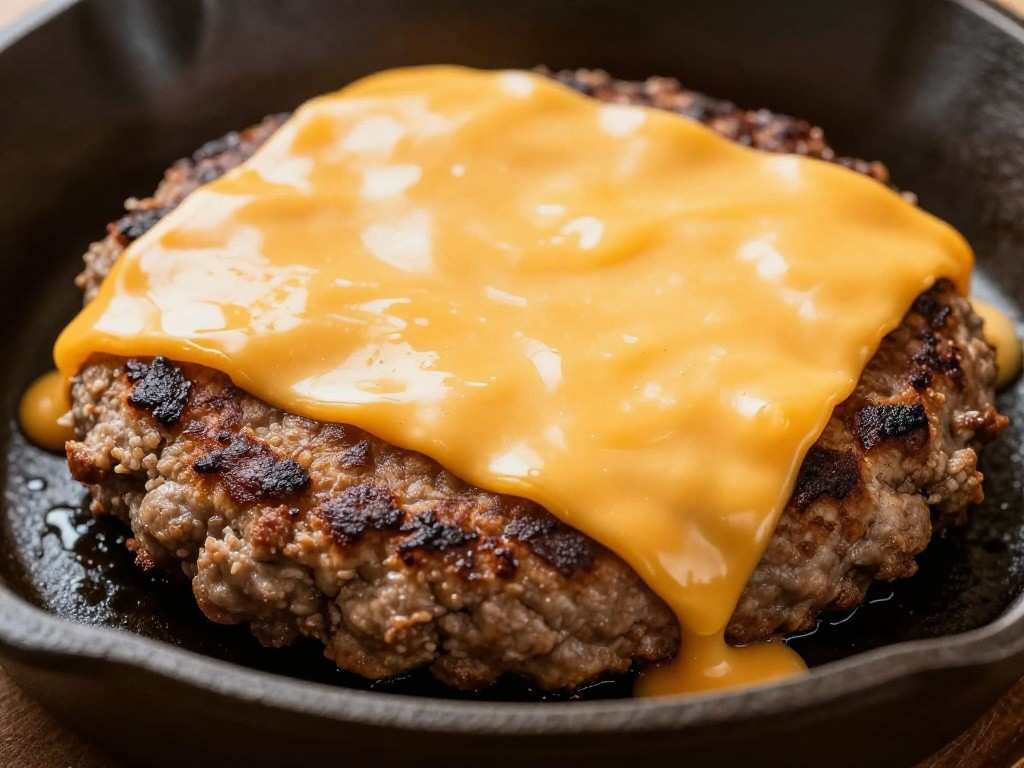
- Flip once. Add cheese immediately after flipping if using.
- Cook another 2 to 3 minutes for medium doneness.
- Rest for 2 minutes before serving.
The resting step is something I ignored for years, thinking it was fussy chef talk. Then I cut into a rested patty versus an immediate one and the difference in juiciness was visible. The juices redistribute. It matters.
The Hamburger Sauce That Ties Everything Together
I make my own burger sauce and it takes three minutes. I mix together 3 tablespoons of mayonnaise, 1 tablespoon of ketchup, 1 teaspoon of yellow mustard, 1 teaspoon of sweet pickle relish, a pinch of garlic powder, and a tiny splash of apple cider vinegar. That is it. It is tangy, creamy, and slightly sweet — the perfect contrast to the savory, smoky patty.
I spread it on both buns. Always both buns. I learned that the hard way when I used to put sauce only on the top bun and wondered why every bite from the bottom half tasted dry.
The Bun: Do Not Overlook It
A great patty deserves a great bun. I use brioche buns because they are slightly sweet and incredibly soft, but more importantly, I toast them in butter. I melt a small knob of butter in the same pan I used for the patties, cut the bun in half, and press the cut sides down for about 60 seconds until golden.
A toasted bun does two things: it adds flavour and it creates a barrier so the bun does not go soggy under all the toppings and sauce. I started doing this after watching my assembled burgers turn into a soggy mess within minutes. Now my burgers hold up beautifully from first bite to last.
Assembling the Beast Burger
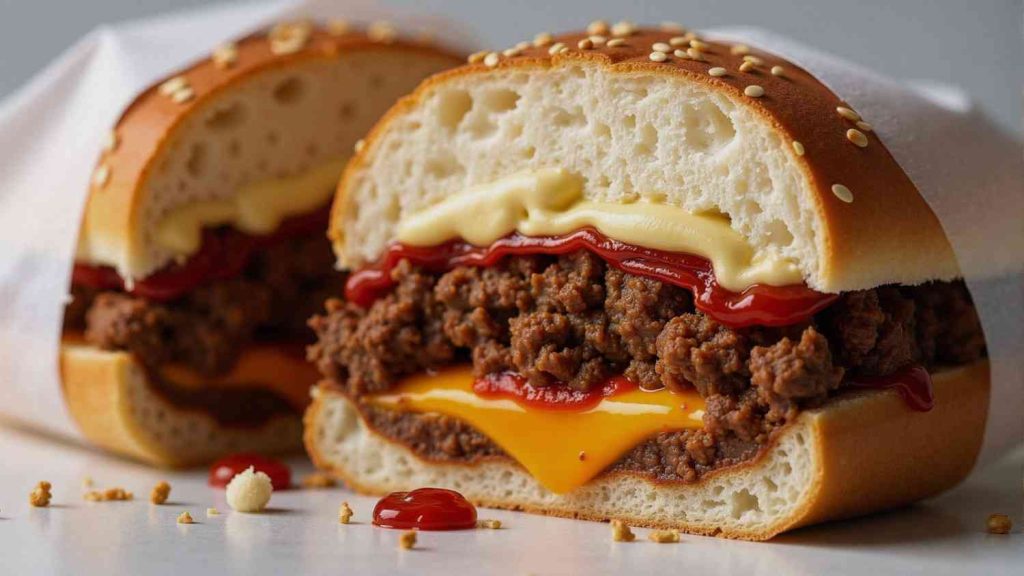
In our house, we call this the Beast Burger because once you have made it, no restaurant burger will satisfy you the same way again. Here is my assembly order:
- Bottom bun — spread sauce generously
- Lettuce leaf (acts as a moisture barrier)
- Tomato slices — I season mine lightly with salt
- The patty with melted cheese draped over it
- Caramelized onions — I cook mine low and slow for 30 minutes with a pinch of sugar
- More sauce on the top bun
- Top bun — press down gently and serve immediately
My Tips for Dietary Adaptations
Because I know so many of you deal with dietary restrictions, here is how I adapt this recipe:
- Gluten-free: I swap the brioche bun for a gluten-free bun (I have found the ones from local bakeries hold up much better than store-bought) and double-check that my Worcestershire sauce is gluten-free certified. Everything else in this recipe is naturally gluten-free.
- Dairy-free: Skip the cheese and use olive oil instead of butter for the bun. The burger is still incredible without the cheese, especially if your sauce game is strong.
- Lower fat: I have made this with a leaner 90/10 beef when cooking for guests who prefer it. I add one tablespoon of olive oil directly into the mix to compensate for the lower fat, and I cook on slightly lower heat. It works — just do not overcook it.
Quick Reference: Hamburger Recipe at a Glance
| Prep time: 15 minutes + 20 minutes chilling | Key tip: Do not over-mix the meat and always rest the patties after cooking |
| Cook time: 8 minutes per batch | Best for: Weekend dinners, family gatherings, or whenever you want to impress someone without spending hours in the kitchen |
| Servings: 4 burgers |
Final Thoughts: Why This Recipe Changed My Kitchen
Making homemade hamburgers taught me something bigger than just a recipe. It taught me that the gap between a mediocre meal and an extraordinary one is usually just a few small, intentional choices. The right fat ratio. Not over-mixing. The dimple trick. Resting the meat. Buttering the bun. None of these steps takes more than a minute, but together they make a burger that genuinely stops people mid-bite.
My family requests this burger almost every weekend now. My teenage nephew, who previously only accepted fast food burgers, declared this the best burger he had ever eaten. I consider that my highest achievement in the kitchen.
Try this recipe once. Make it exactly as I have written it the first time, and then adjust to your taste from there. I promise you will never look at a frozen patty the same way again.
Frequently Asked Questions
What is the best meat for homemade hamburgers?
In my experience, an 80/20 blend of chuck and brisket gives you the best results. The 20% fat content is what keeps the patty juicy and flavourful all the way through. I tried leaner blends early on and always ended up with dry, crumbly burgers. If you cannot find a blend, just ask your butcher for 80/20 ground chuck — it works beautifully on its own too.
How do I keep my burger patties from falling apart?
This was my biggest struggle for a long time! The solution that worked for me was adding one egg yolk to the mixture and chilling the shaped patties in the fridge for at least 20 minutes before cooking. The yolk binds everything together without making the texture dense, and the cold temperature helps the patty hold its shape when it hits the hot pan. Do not skip the chilling step — I learned that lesson the hard way.
Can I make this hamburger recipe on a grill instead of a stovetop?
Absolutely — and honestly, grilling gives you an incredible smoky char that the stovetop cannot fully replicate. I preheat my grill to high, oil the grates lightly, and cook the patties for 3 to 4 minutes per side without moving them. The same dimple trick applies on the grill too. Just make sure your patties are cold when they go on so they do not fall apart through the grates.
How do I make this hamburger recipe gluten-free?
The burger patty itself is naturally gluten-free — just make sure your Worcestershire sauce is labelled gluten-free, as some brands contain malt vinegar. Swap the brioche bun for a good gluten-free bun and you are all set. I have made this for gluten-free guests many times and nobody ever feels like they are missing out.
How long should I cook a hamburger patty?
For a medium patty — juicy with just a hint of pink in the center — I cook for 3 to 4 minutes on the first side and 2 to 3 minutes after flipping. For well done, I add about 1 more minute per side. The most important thing I always do is let the patty rest for 2 minutes after cooking. This keeps all those beautiful juices inside instead of running out the moment you press down.
Can I prepare the patties ahead of time?
Yes, and I actually recommend it! I often shape my patties the night before and keep them covered in the fridge. They cook even better when they are very cold and firm. You can also freeze uncooked patties — I separate them with parchment paper and store them in a zip-lock bag for up to 3 months. Just thaw overnight in the fridge before cooking.
What cheese works best on a homemade hamburger?
My personal favourite is sharp cheddar because it melts beautifully and has enough flavour to stand up to the beef. American cheese gives you that classic fast-food melt if that is what you are going for. For something more elevated, I sometimes use smoked gouda or gruyere — both are wonderful. The key is to add the cheese immediately after flipping the patty so it has the full cooking time to melt properly.