
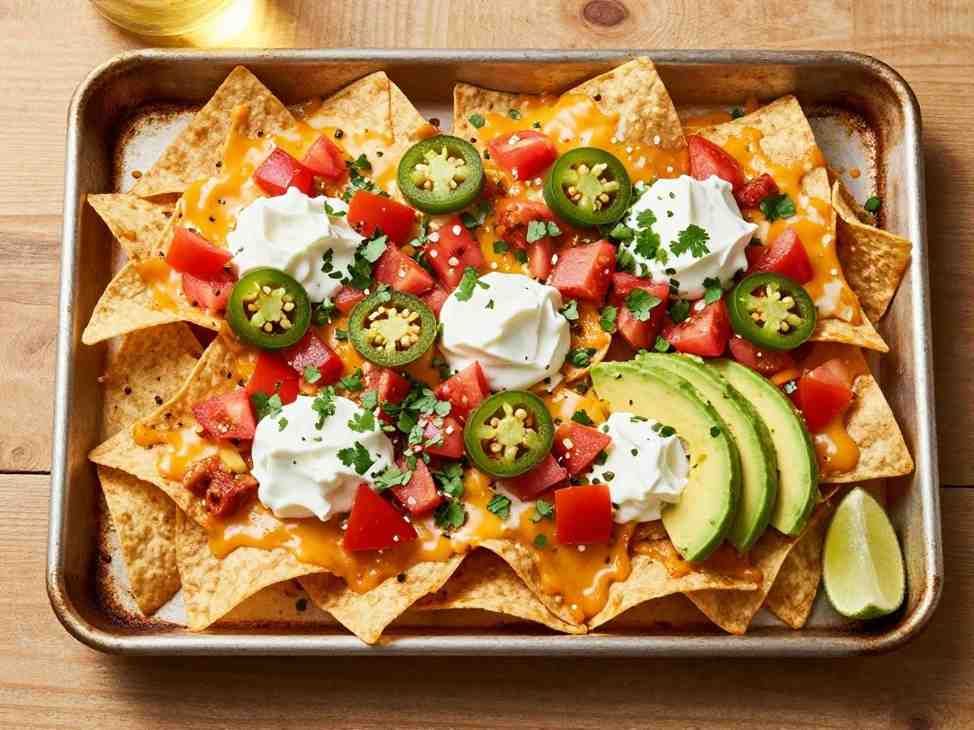

To be honest, when I first tried making nachos with cheese at home, they turned out to be a complete disaster. Some of the nachos were soaked in so much cheese that they became soggy and soft, while others were completely dry. And when I finally served them on the table, they were already ruined — cold, messy, and, honestly, not tasty at all. There was no real flavour in them. Whenever I used to eat nachos at restaurants, I always thought, how hard could it really be to make them? But later I realised that behind this simple snack, there’s actually a special trick that makes it turn out perfectly.
I tried many times to make nachos, but I failed every single time. Then I realised that the problem was not in the ingredients but in the way I layered the nachos, the choice of cheese, and the oven temperature. Once I fixed these three things, my nachos turned out perfect.
The Science Behind Good Nachos
Most nacho recipes online tell you to pile everything on at once and bake it. That’s actually where things go wrong.
The layering principle is the most important concept here. Nachos are essentially a stacked dish.
which means heat has to travel through multiple layers. If you pile all your toppings on top and
then bake; the bottom chips steam rather than crisp, and the toppings on top can burn while the
The ones underneath stay cold. I layer mine in two rounds — a base layer of chips with cheese, then a
second layer, then into the oven. Fresh toppings go on after baking. This one change made a huge
difference.
Cheese selection matters more than people think. Pre-shredded cheese from a bag contains
anti-caking agents (usually cellulose or potato starch) that prevent it from melting smoothly. I
noticed this after comparing two batches side by side — block cheese that I shredded myself
melted into that glossy, slightly stretchy layer. Bag cheese turned slightly grainy. For nachos, you
want a combination: sharp cheddar for flavour and Monterey Jack for meltability. Monterey Jack
has a higher moisture content and a lower melting point, which is why it gets that perfect pull
without going oily.
Chip thickness also plays a role. Thin chips crisp up fast but can turn brittle and break under
toppings. Restaurant-style tortilla chips — thicker and sturdier — hold their shape much better
under heat. If you’ve ever had a nacho where the chip shattered the moment you picked it up,
thin chips are usually the culprit.
Oven temperature should be on the higher end — around 200°C (400°F) — for a short time.
You’re not cooking the chips further; you’re melting the cheese. High heat, short time, means the
Cheese melts before the chips have a chance to over-dry. Any lower and the cheese takes too
long, during which time your chips go from crispy to stale-tasting
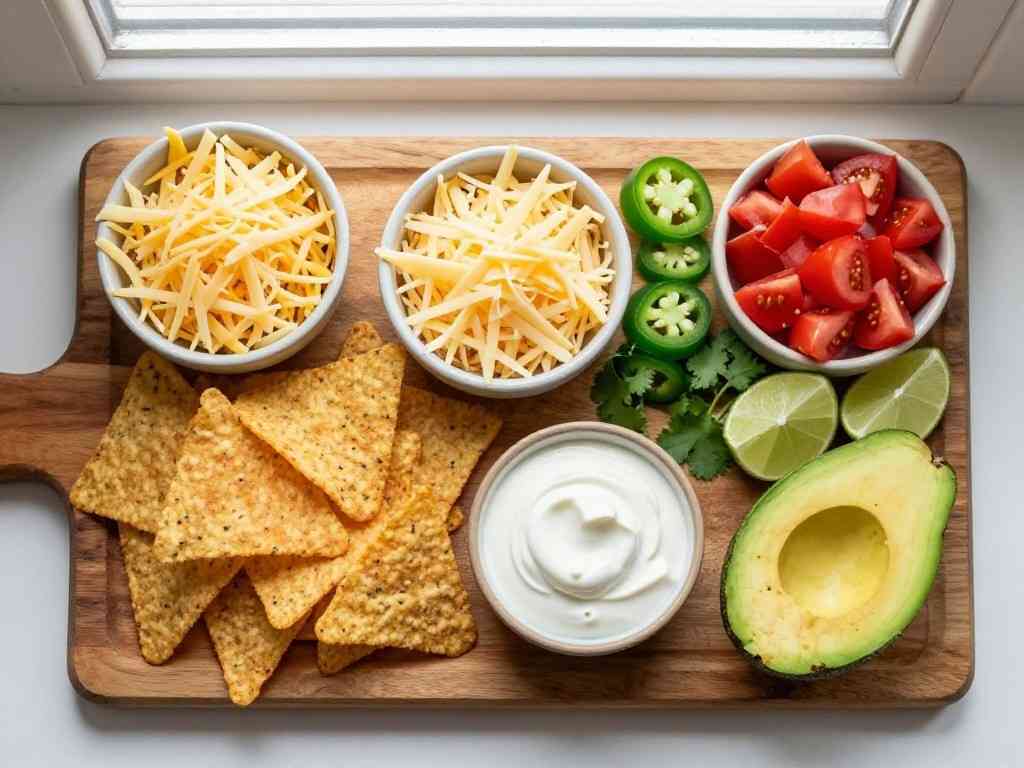
Ingredients for the Nachos with Cheese:
| 250g restaurant-style tortilla chips | Thicker cut holds up better under cheese and toppings. Thin chips work but tend to go soft faster. |
| 150g sharp cheddar cheese, freshly grated | Provides depth of flavor. Sharp cheddar has a pronounced taste that cuts through the richness of the other toppings |
| 100g Monterey Jack cheese, freshly grated | The melting cheese. Lower melting point = smoother, glossier result. This is what gives you that stretch. |
| 1 can (400g) refried beans (optional but recommended) | Adds body and helps toppings stick to chips rather than sliding off. Also adds a creamy contrast to the crunch. |
| 1 fresh jalapeño, thinly sliced | Heat and brightness. Fresh jalapeño has a green, grassysharpness that pickled ones don’t replicate. Use pickled if you prefer a milder heat. |
| 1 small red onion, finely diced | Sharpness and color contrast. Goes on after baking so it stays fresh and crisp |
| 1 medium tomato, deseeded and diced | Adds acidity and freshness. Deseeding is important — watery tomatoes make chips soggy instantly. |
| ½ cup sour cream | Cooling element that balances heat. Also adds a tangy richness. |
| 1 ripe avocado, mashed or sliced | Creamy fat that rounds out the whole dish. Not essential, but it fills out the flavor significantly |
| Juice of ½ lime | A small squeeze over the finished nachos lifts everything. Acid is the final seasoning step people often skip. |
| Fresh cilantro / coriander (optional) | Adds a herby freshness at the end. Leave it out if you’re not a fan. |
| ½ tsp smoked paprika | A light dusting over the cheese before baking adds color and a faint smoky depth |
| Salt | According to taste. |
Step-by-Step Instructions for nachos
Step 1: Prepare Your Toppings Before You Start
Prep all the fresh toppings first — dice the tomatoes, onion, jalapeño, and avocado. Keep them
separate. Nothing is worse than having everything mid-bake and then scrambling for toppings.
For the tomato, cut it in half, scoop out the seeds and watery pulp with a spoon, then dice the
flesh. I learned this the hard way when my first batch turned soggy within five minutes because I
used whole tomatoes.
Step 2: Preheat and Prep Your Pan
Preheat your oven to 200°C (400°F). Line a large baking sheet (or two) with foil or parchment
paper. A wide, flat surface is important — don’t try to pile nachos too high or the middle won’t
heat evenly. A single, fairly flat layer gives you the best chip-to-cheese ratio.
Lightly grease the foil if you like, but honestly, with enough cheese the nachos won’t stick.
Step 3: First Layer
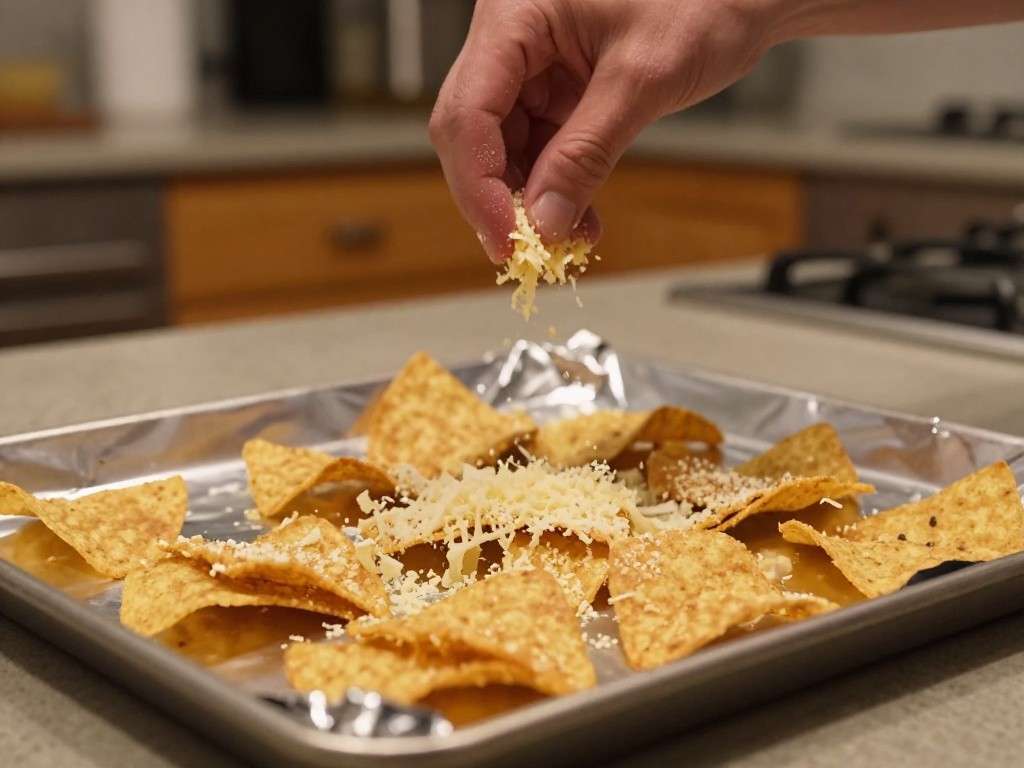
Spread half of your chips in a single, slightly overlapping layer on the baking sheet. Overlapping
‘Slightly’ is fine; completely separated chips lose the nachos feel, but don’t stack them four high.
deep. If you’re using refried beans, dot small spoonfuls across the chips at this stage. A small dollop on
Each chip gives something for the cheese to anchor to. Sprinkle half the cheddar and half the Monterey Jack evenly over this layer. Scatter a few
jalapeño slices here.
Step 4: Second Layer
Add the remaining chips on top, followed by the rest of the cheese. Scatter more jalapeño slices.
Give the whole thing a very light dusting of smoked paprika — not a heavy coating, just enough
to add color and a whisper of smokiness.
Step 5: Bake
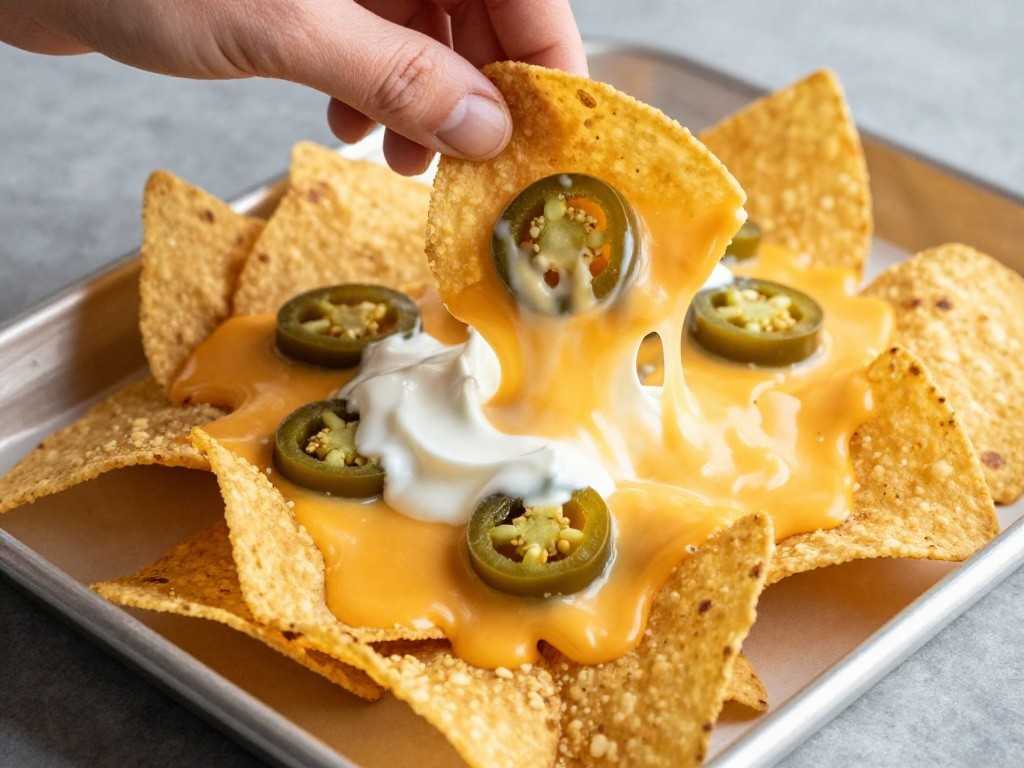
Place the tray in the preheated oven for 8–10 minutes. Watch closely from the 7-minute mark.
You’re looking for the cheese to be fully melted, bubbly, and starting to get a few lightly golden
edges. Pull it out before it starts going brown — overcooked cheese turns oily and slightly bitter.
I noticed that every oven runs slightly differently. My oven runs hot, so I pull at 7.5 minutes. Start
checking early and trust what you see, not just the clock.
Step 6: Add Fresh Toppings
Once out of the oven, immediately add the fresh toppings: diced tomato, red onion, and any
remaining jalapeño. Add the avocado — either mashed roughly with salt and lime, or sliced.
Dollop sour cream across the top (or serve it on the side if you prefer). Scatter cilantro if using.
Squeeze the lime juice across everything just before serving.
Step 7: Serve Immediately
This is not a dish that waits. Nachos are best eaten within five minutes of coming out of the oven.
The chips start softening quickly once the toppings are added, so get everyone to the table before
you pull the tray out.
Chef Mehmoona’s Personal Tips
Grate your own cheese. I mentioned this above but it’s worth repeating. Block cheese + box
grater = significantly better melt. The ten extra minutes are worth it.
Dry your toppings. Pat the diced tomato with a paper towel before adding. If your jalapeños are
from a jar, pat those too. Any excess moisture goes directly into making your chips soft.
Use two baking sheets if needed. It’s tempting to pile everything onto one tray to save washing
up. Resist. Crowded nachos = steamed chips. Spread them out.
Warm your sour cream slightly. This sounds odd, but cold sour cream dropped onto hot nachos
cools them down fast. Leave the sour cream at room temperature for 20 minutes before serving.
Season as you go. A tiny pinch of salt between the layers, not just at the end, makes a noticeable
difference in how the flavors come together.
Common Mistakes (And How I’ve Made Most of Them)
Using cold cheese straight from the fridge. Cold cheese takes longer to melt, which means your
chips overcook while waiting for it to get there. Let your grated cheese come to room
temperature for 15 minutes before baking.
Adding all toppings before baking. Tomatoes and sour cream don’t belong in the oven. They’ll
release water and turn your whole tray into a soggy situation. Fresh, wet toppings always go on
after baking.
Baking in too deep a dish. I tried using a casserole dish once. The edges got hot, the middle
stayed cold. Use a flat, wide baking sheet. The flatter the better.
Not watching the oven. Cheese goes from perfect to burnt quickly at 200°C. Don’t walk away
during the last two minutes.
Making them too far in advance. Nachos are a right-now food. Making them 20 minutes before
your guests arrive and leaving them covered results in steam-softened chips. Time it so they
come out of the oven and go straight to the table.
Variations Worth Trying
Chicken Nachos:
Shred leftover grilled or roasted chicken and layer it under the cheese with a teaspoon of cumin and chili powder. You can also check my Lamb Chops Recipe on Spices Dragon for the spiced chicken technique that works brilliantly here.
Vegetarian Loaded Nachos:
Swap the beans for roasted black beans, add corn, diced bell peppers, and a spoonful of salsa layered in with the cheese. A personal favorite variation in my kitchen.
Spicy Nachos:
Double the jalapeños, add a dash of hot sauce to the refried beans, and finish with a drizzle of sriracha after baking. Not subtle, but satisfying.
Breakfast Nachos:
This is a weekend thing in my house — scrambled eggs, cheese, cooked crumbled sausage or leftover keema, and a good handful of spring onions on top. If that sounds interesting, check my spicy hamburger recipe on Spices Dragon for a base that works wonderfully here.
White Cheese Nachos:
Use all Monterey Jack with a bit of cream cheese dotted around for an ultra-creamy result. Finish with pickled jalapeños and a squeeze of lime.
Serving Suggestions
Nachos are casual by nature, but how you serve them makes a difference. I like to put the sour
cream in a small bowl on the side rather than dolloping it all over — that way people who want
more can grab it, and the chips that aren’t immediately eaten don’t get soggy from it.
A small bowl of extra salsa on the side is always a good idea. Something to drink — sparkling
water with lime, or iced tea — helps cut through the richness.
For a spread, nachos work well alongside a simple green salad (something crisp and lightly
dressed to contrast the richness) or a basic tomato-based soup for something heartier.
Portions: this recipe serves 2–3 as a main, or 4–6 as a shared snack.
Storage Tips
Nachos do not store well once assembled and baked. This is one recipe where leftovers are
genuinely disappointing — the chips absorb moisture from the toppings overnight and turn into
a soft, floppy mess.
What you can do:
Store the components separately. Keep unused grated cheese in an airtight
container in the fridge (up to 3 days). Keep prepped toppings (tomato, onion) in separate
containers in the fridge. When ready for another round, just assemble and bake fresh. The whole
process takes under 15 minutes once your prep is done.
If you somehow have leftover baked nachos with no toppings, you can re-crisp them in the oven
at 180°C for about 5 minutes, though the texture won’t be quite the same
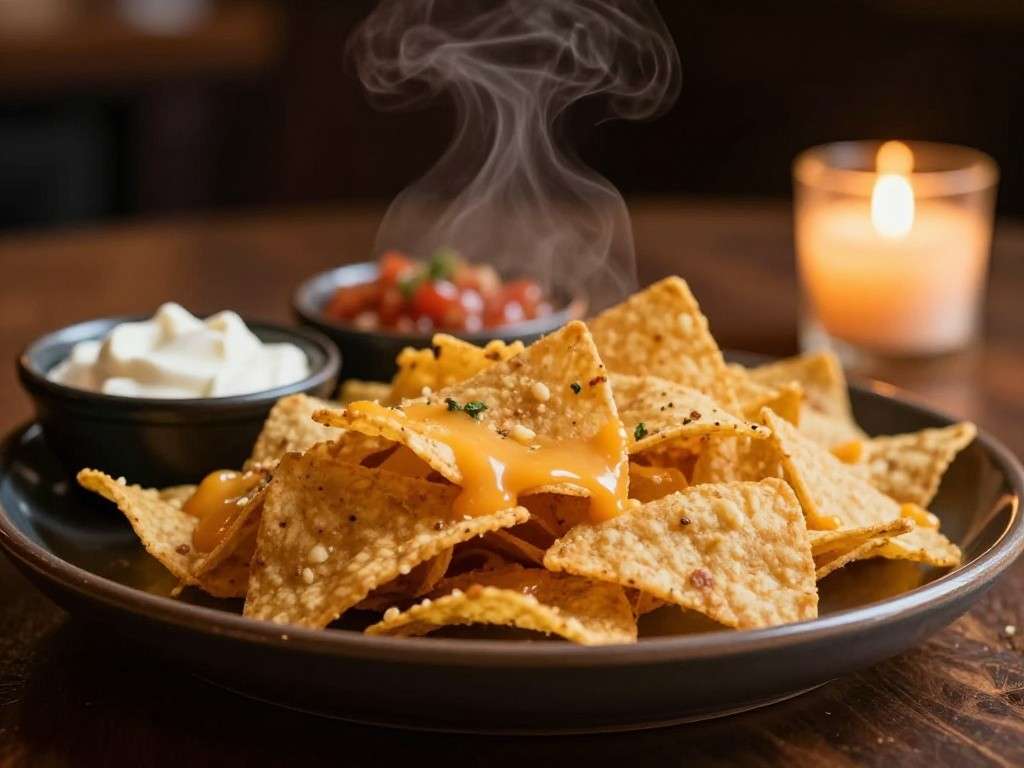
FAQs
Q: Can I use store-bought shredded cheese to save time?
You can, and I’ve done it in a pinch. The result won’t be as smooth — you’ll likely get some graininess in the melt — but it works fine for casual weeknight nachos. If you have five extra minutes, freshly grated cheese really is noticeably better.
Q: What’s the best chip brand for nachos at home?
Look for restaurant-style or “cantina style” tortilla chips, which are usually thicker and sturdier. Thinner chips from regular bags can work but tend to go soft faster under the toppings. In Pakistan, locally available thick corn chips work well — the key is firmness, not the brand name.
Q: My cheese isn’t melting evenly — some spots are gooey, others are dry. What’s going wrong?
Usually this is a grating issue. If the cheese pieces are uneven sizes, they melt at different rates. Try to grate consistently. Also make sure the cheese is at room temperature before it goes into the oven — cold cheese melts unevenly.
Q: Can I make nachos without an oven — in a pan or air fryer?
Yes. An air fryer works surprisingly well: 180°C for about 5–6 minutes. Do it in smaller batches so the chips don’t pile too high. On a stovetop, you can do a skillet version: layer chips in a wide non-stick pan, cover with cheese, and put a lid on over medium-low heat for 3–4 minutes. The cheese melts from the steam. It’s not quite the same, but it gets the job done.
Q: How do I keep the nachos crispy for longer once they’re out of the oven?
The honest answer is: you can’t really delay it by much. The chips start softening the moment toppings — especially wet ones — hit them. Serve immediately, keep wet toppings on the side, and don’t cover the tray.
If you must buy a few extra minutes, leave the fresh toppings off until the last second.
A Note on Cheese (Worth Reading)
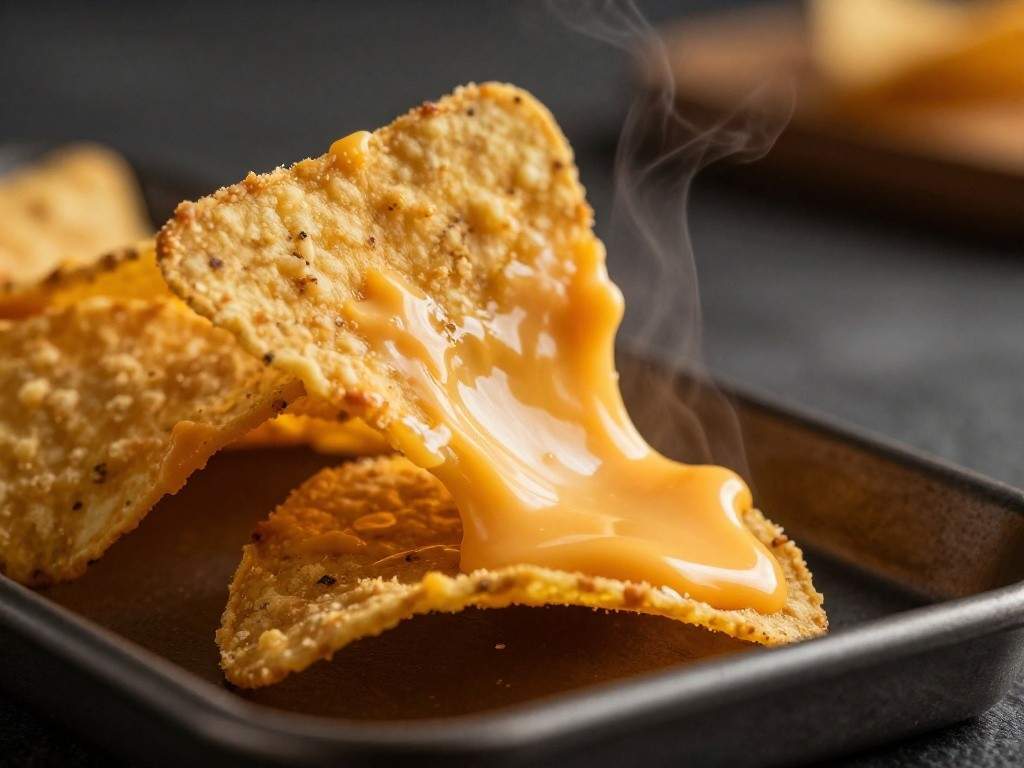
Since cheese is really the heart of this recipe, it’s worth understanding how it melts. According to the fundamentals of food science, cheese melts because heat causes the fat and protein matrix to loosen. Different cheeses melt differently depending on their moisture content, age, and fat content. Young, high-moisture cheeses (like Monterey Jack or young mozzarella) melt smoothly, while aged, drier cheeses (like Parmesan) don’t melt as much as they crisp. For nachos, you want that smooth melt — which is why a blend of cheddar (flavor) and Monterey Jack (texture) works so well. If you’re curious about the science, Serious Eats has an excellent breakdown of how cheese melts that I found really helpful when I was trying to figure out why my nachos kept
turning out wrong.
Conclusion
Nachos with cheese aren’t complicated, but they have enough little details that getting them
right feels genuinely satisfying. The layering, the cheese choice, the oven time, the fresh
toppings added at the end — none of these things are difficult, but they all add up to a noticeably
better result than the pile-and-bake approach.
Chef Mehmoona’s version of this recipe has gone through probably fifteen rounds of tweaking,
from that first soggy disaster to what it is now. What I make today isn’t the most elaborate version
you’ll find — but it’s the one I actually keep coming back to, because it reliably works and tastes
the way nachos are supposed to taste: crispy, cheesy, fresh, and a little spicy.
Make it once and you’ll have the technique down. After that, it’s just about what’s in the fridge.