

A Recipe Born Out of a Very Hungry Tuesday Night
To be honest, once I went to my friend’s house and she made chicken quesadillas. I tried them too, and they were absolutely delicious. I thought I should try making them myself as well. But when I made them, they turned out completely terrible. They got burnt on the outside while the filling inside stayed completely cold. I felt very disappointed and had to eat them anyway. But I decided that I would learn how to make them properly and perfect the recipe.
It has probably been around four years since then, and ever since, chicken quesadillas have become one of my favourite dishes. I am Chef Mehmoona, and here I usually focus on South Asian flavours and spices. That is why I have added a few small twists and tricks to this Mexican-inspired dish that make the recipe even more delicious.
Chicken Quesadillas: Cooking Logic Behind It
There are a few things that separate a genuinely good quesadilla from one that is merely edible, and they all come down to technique and the right combination of ingredients.
After trying many times, I finally understood that moisture is the enemy of quesadillas. If there is even a little extra moisture in your filling — whether from chicken that has not dried properly or from adding salsa — it creates steam inside the quesadilla and makes it soft instead of crispy. That is why I pay special attention to these things: cook the chicken with spices until all the moisture dries out properly, and saute the vegetables long enough so that their water also cooks off completely.
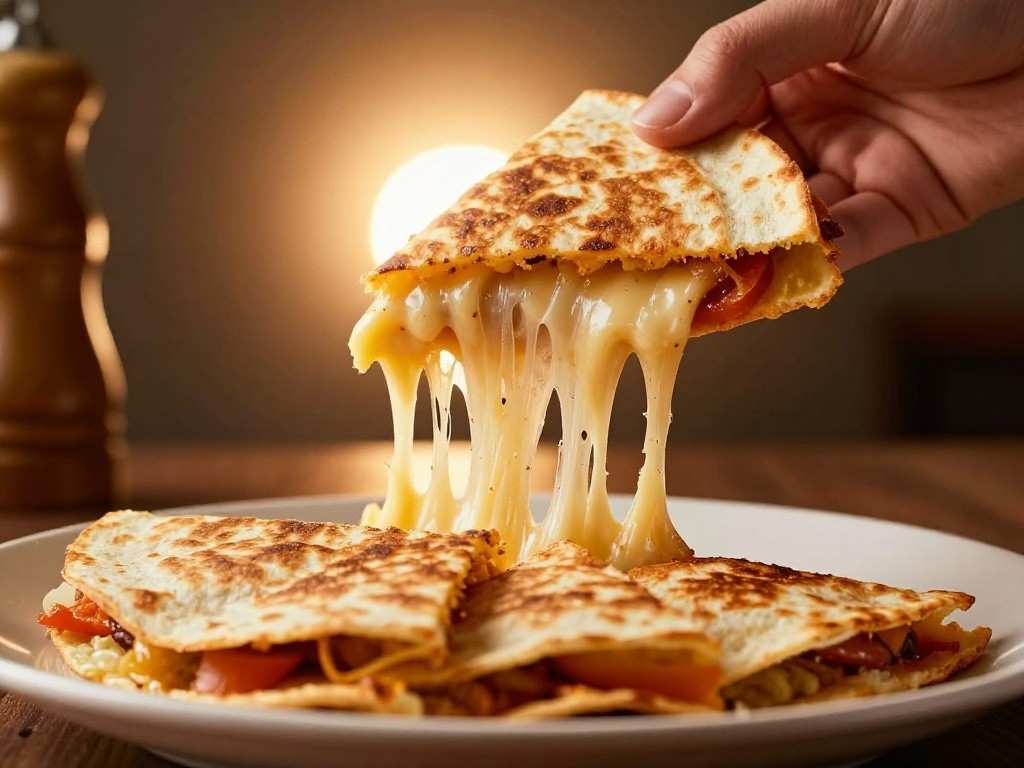
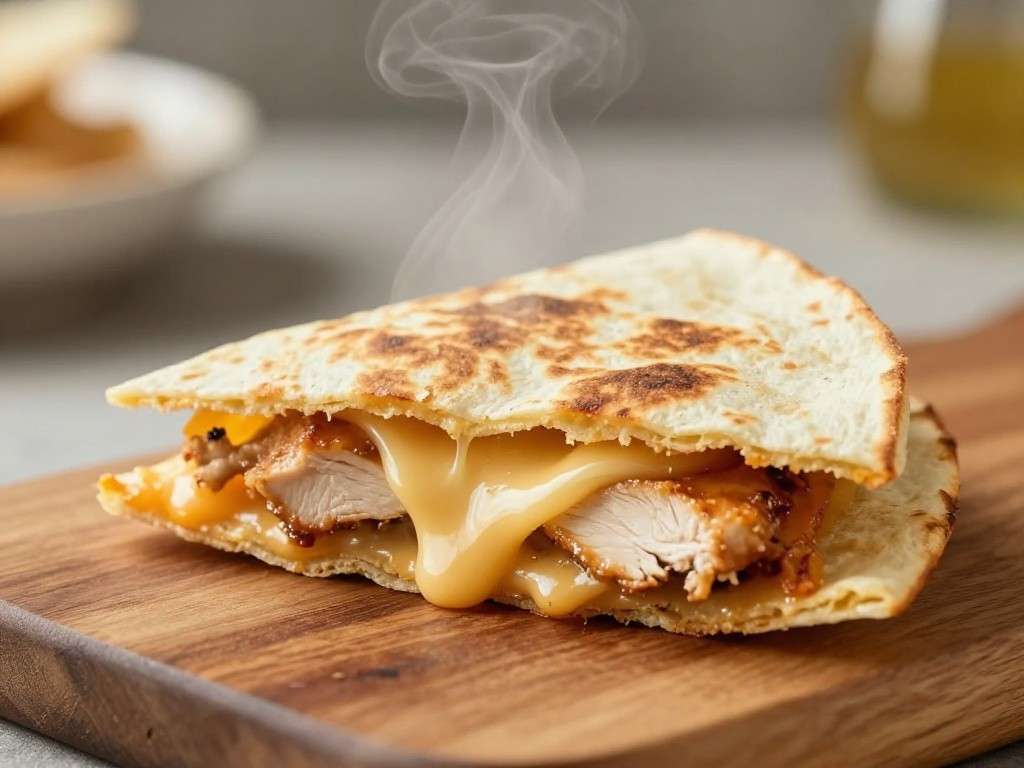
The second thing is the cheese melt. Mozzarella alone gives you a stringy pull but not much flavour. Cheddar gives you flavour but can turn greasy. I use a combination of both, which gives a stretchy melt with a sharp, savoury background. The science here is simple: different cheeses have different fat and protein structures, and blending them means you get the textural benefits of one and the flavour benefits of the other.
Third — and this took me a while to get right — is the heat level. Medium heat, not high. High heat browns the outside before the cheese fully melts, which means you either end up with burnt spots or half-melted cheese. Medium heat gives you golden, evenly crisped tortilla and fully molten cheese all the way through. I press gently with a spatula for the first minute to help heat distribute.
Finally, resting for two minutes before cutting. Yes, really. Just like meat resting after cooking, the cheese needs a moment to stabilise. Cut too soon and the filling slides out of every slice.
Ingredients
| Serves: 2 people (makes 2 large quesadillas, cut into 4 pieces each) Prep Time: 10 minutes | Cook Time: 20 minutes | Total: 30 minutes |
For the Chicken Filling
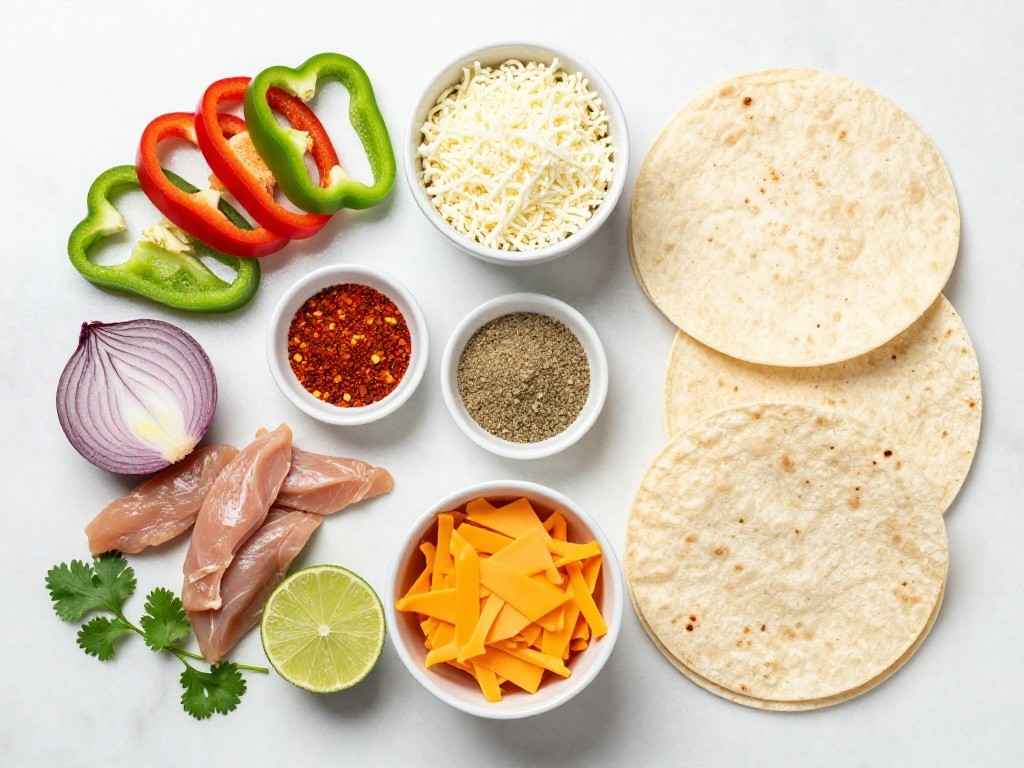
| 300g boneless chicken breast or thigh | thigh is more forgiving and stays juicier |
| 1 tablespoon olive oil | |
| 1/2 teaspoon smoked paprika | adds depth and a subtle warmth without actual heat |
| 1/2 teaspoon cumin powder | earthy, essential, do not skip it |
| 1/4 teaspoon garlic powder | |
| 1/4 teaspoon onion powder | |
| 1/4 teaspoon chilli flakes | adjust to your tolerance |
| Salt and black pepper | to taste |
| 1/2 medium red onion, | finely sliced |
| 1/2 red bell pepper, | thinly sliced |
| 1/2 green bell pepper, | thinly sliced |
| 1 tablespoon fresh lime juice | the acid brightens the whole filling |
For Assembly
- 4 large flour tortillas (25cm / 10 inch)
- 100g mozzarella, grated — for stretch and melt
- 80g sharp cheddar, grated — for flavour
- 1–2 teaspoons butter or neutral oil for the pan
To Serve
- Sour cream or Greek yoghurt
- Fresh coriander (cilantro), roughly chopped
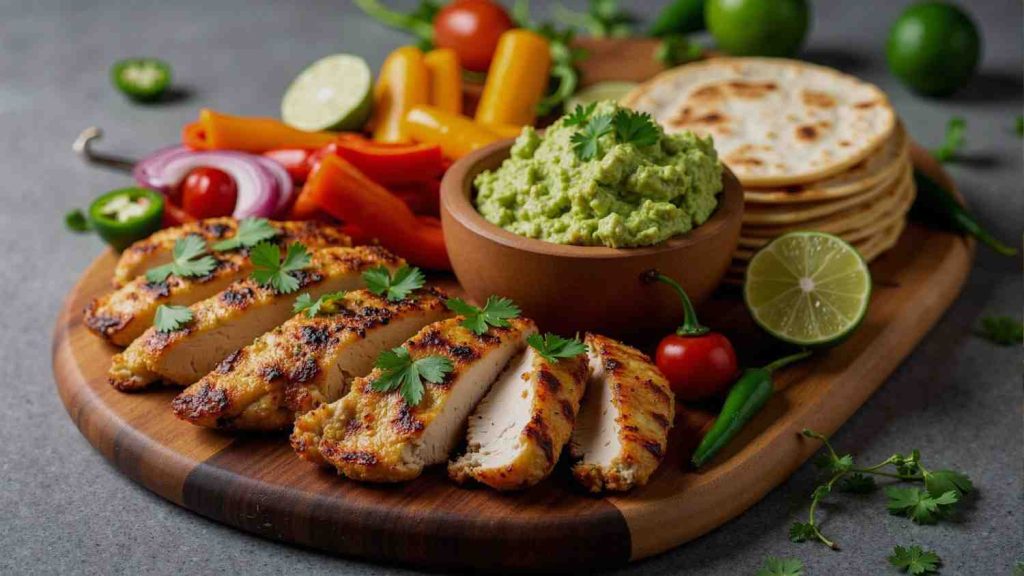
- Sliced avocado or a quick guacamole
- Fresh salsa or pico de gallo
- Lime wedges
A note on the tortillas: use flour, not corn, for this recipe. Corn tortillas are more traditional for tacos but they crack when folded and do not achieve that sealed, toasty shell that holds a quesadilla together. Flour tortillas have the flexibility and the gluten structure to stay pliable and then crisp up beautifully.
Step-by-Step Instructions
Step 1 — Prepare and Season the Chicken
- Slice the chicken into thin strips, about 1cm wide. Thin slices cook evenly and quickly without drying out.
- In a bowl, toss the chicken with olive oil, smoked paprika, cumin, garlic powder, onion powder, chilli flakes, salt, and black pepper. Coat every piece properly.
- Let it sit for 5–10 minutes if you have time. This is not a marinade, but even a short rest lets the spices start penetrating the surface.
Step 2 — Cook the Chicken
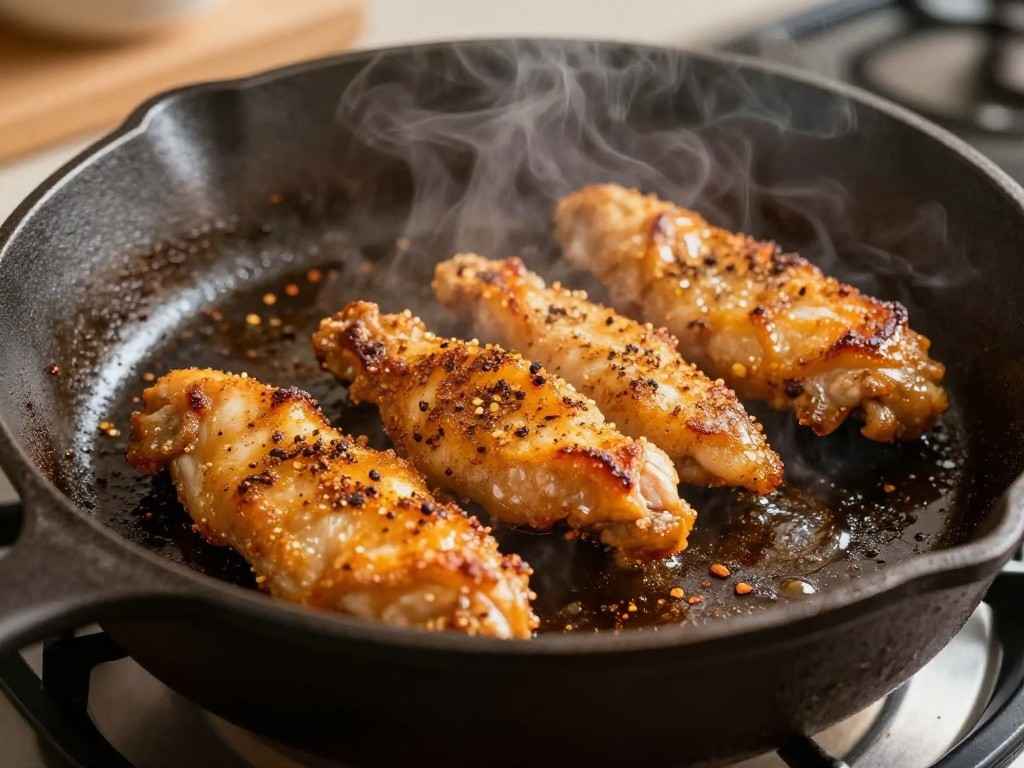
- Heat a large pan over medium-high heat. Once hot, add the chicken in a single layer. Do not crowd it — cook in two batches if needed.
- Cook for 3–4 minutes per side without moving it much. You want some caramelisation on the outside, which adds flavour.
- Remove from pan, let it cool slightly, then chop it into smaller bite-sized pieces. This makes it easier to distribute evenly inside the quesadilla.
Step 3 — Cook the Vegetables
- In the same pan, add a small drizzle of oil. Add the sliced onion and both bell peppers.
- Cook over medium heat for 5–6 minutes, stirring occasionally, until they soften and start to caramelise at the edges. You want them fully cooked, not crunchy.
- Season lightly with salt, add the lime juice, and toss. Remove from heat and combine with the chicken.
Step 4 — Assemble
- Lay a tortilla flat on a clean surface. Sprinkle a thin layer of the cheese blend over one half of the tortilla only.
- Add a generous layer of the chicken and vegetable filling over the cheese.
- Top with another layer of cheese — this cheese on top acts as the ‘glue’ that holds the filling against the second half of the tortilla.
- Fold the empty half over the filling side. Press down gently.
Step 5 — Cook the Quesadilla
- Heat a wide pan or flat griddle over medium heat. Add just under a teaspoon of butter and let it melt.
- Carefully transfer the folded quesadilla to the pan. Press gently with a spatula.
- Cook for 2–3 minutes until the bottom is deep golden and the cheese closest to the base is melting. You will see it start to bubble at the fold.
- Flip carefully. Cook the other side for another 2 minutes.
- Remove from heat and rest on a chopping board for 2 full minutes. Then slice into 3–4 wedges with a sharp knife or pizza cutter.
Things I Learned the Not-So-Easy Way
- Use room temperature tortillas. Cold tortillas from the fridge crack at the fold. Give them 10 minutes on the counter first.
- Grate your own cheese. Pre-shredded cheese has anti-caking agents that make it melt less smoothly. It takes two extra minutes and makes a real difference.
- Do not overfill. I know it is tempting. But too much filling makes flipping difficult and means the inside never heats through properly. A modest, even layer is the goal.
- One quesadilla at a time. Unless you have a very large pan, cooking two at once drops the pan temperature and you lose that crisp. Patience pays off here.
- The butter versus oil question: butter gives a richer flavour and slightly better browning due to the milk solids. But if your heat is too high, it burns. If you are not confident with heat control, use a neutral oil and add a small knob of butter right at the end for flavour.
Common Mistakes to Avoid
- Skipping the resting step. Two minutes feels pointless until you cut a quesadilla immediately and watch all the cheese run out. Rest it.
- Using too much cheese. More cheese sounds better but actually creates a greasy, heavy result. The amounts in this recipe are calibrated so every bite has cheese without being overwhelming.
- High heat the whole way. If you cook on high throughout, the outside chars before the inside is hot. Medium is the consistent answer.
- Not drying the chicken. If you are using leftover cooked chicken, make sure it is not sitting in sauce or liquid. Pat it dry, season it quickly in the pan to warm through, then use it.
- Pressing too hard with the spatula. A gentle press is helpful; aggressive pressing squeezes the filling out at the sides.
- Adding cold sour cream on top while it is still in the pan. I have seen people do this. It makes the quesadilla steam rather than crisp. Always serve condiments on the side.
Variations Worth Trying
Once you are comfortable with the base recipe, there is a lot of room to make it your own.
- Spiced Potato and Chicken: Replace half the chicken with boiled, lightly spiced potato pieces. It adds bulk and makes it stretch further for a crowd.
- Corn and Black Bean: Add 2 tablespoons of canned sweet corn and 2 tablespoons of black beans to the filling. The sweetness of the corn plays well against the smoky paprika.
- Roasted Jalapeño Version: Char a jalapeño directly over the flame, peel and chop it, and mix it into the filling. The roasting takes the raw edge off and adds a complex, smoky heat.
- Breakfast Quesadilla: Swap the chicken for scrambled eggs with spring onion and a little crumbled feta. Completely different meal, same technique.
- Tandoori Chicken Version: This is a favourite on Spices Dragon — marinate the chicken in a quick tandoori spice mix before cooking. It brings the whole thing into much more familiar territory if you cook South Asian food regularly.
You can also check my Homemade Nachos with Cheese Dip on Spices Dragon to use as the filling base for a tandoori quesadilla — the flavours work beautifully together.
Serving Suggestions
Chicken quesadillas are a meal on their own, but a few well-chosen sides make the table feel more complete.
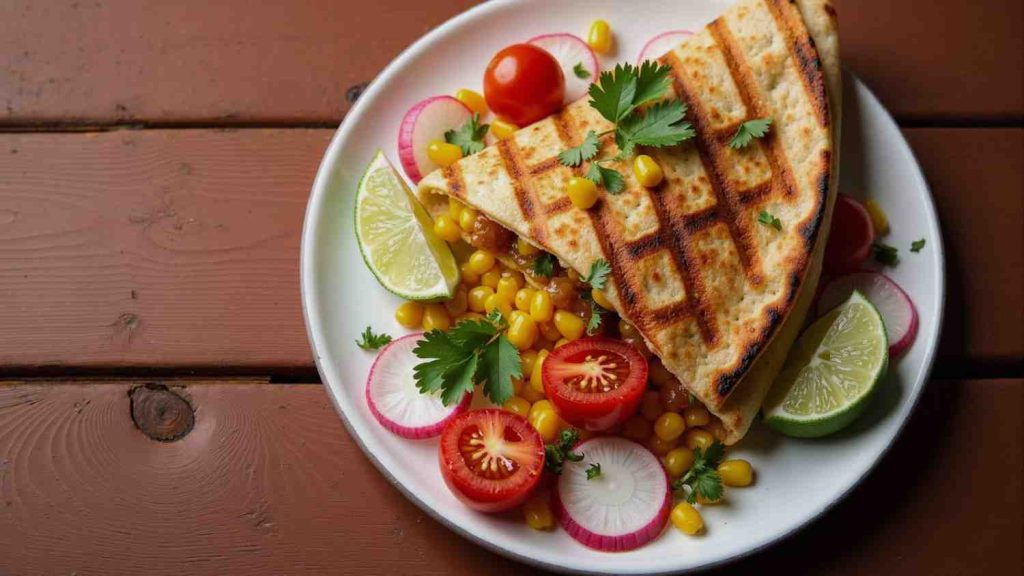
- A simple tomato salsa — just chopped tomatoes, red onion, coriander, lime juice, and salt — takes ten minutes and cuts through the richness perfectly.
- Sliced avocado or guacamole alongside adds creaminess. I prefer plain sliced avocado with lime and a pinch of salt; it takes thirty seconds and feels fresh.
- A small green salad with a lime vinaigrette balances the heavier quesadilla well for those who want something lighter on the side.
- For a fuller spread, these work very well next to a pot of rice and a simple slaw.
Storage Tips
- Refrigerator: Store leftover cooked quesadillas in an airtight container for up to 2 days. They will soften in the fridge.
- Reheating: The best way is a dry pan over medium heat for 2 minutes per side. The microwave works but makes them soft rather than crispy. Avoid it if crispness matters to you.
- Freezing the filling: The cooked chicken and vegetable filling freezes well for up to one month. Defrost in the fridge overnight and reheat in a pan before assembling.
- Do not freeze assembled quesadillas: The tortilla texture degrades significantly after freezing.
Frequently Asked Questions
Can I use corn tortillas instead of flour?
Technically yes, but corn tortillas are much smaller, less flexible, and prone to cracking when folded. They work better as hard-shell tacos. For a fold-and-press quesadilla, flour tortillas give you a far more reliable result. If you specifically need gluten-free, there are gluten-free flour tortillas that behave much more like regular flour ones.
How do I stop the filling from falling out when I flip?
Two things: do not overfill, and make sure the cheese on the bottom layer has started to melt before you flip (you will see it bubbling slightly when you peek at the edge). That melted cheese acts as a binder. If the filling is still loose and the cheese is solid, it will definitely slide.
My cheese is not melting properly — what am I doing wrong?
Two likely causes: pre-shredded cheese (the anti-caking coating interferes with melting), or heat that is too high. Pre-shredded cheese is convenient but does not melt as cleanly. Grate a block of cheese yourself and use medium heat — within a minute you will see the difference.
A Few Final Thoughts
Chicken quesadillas are one of those recipes that reward attention to small details more than complexity. There is nothing technically difficult here — it is the kind of dish where the difference between mediocre and genuinely good comes down to patience with the heat, the right cheese combination, and two minutes of resting before you cut.
I have made this on exhausted weeknights, served it to sceptical guests who ended up asking for the recipe, and brought it to picnics in a lunchbox. It holds up in all those situations. I hope it earns a similar spot in your regular rotation.
If you try this recipe, I would genuinely love to know how it went — especially if you tried the tandoori variation. Leave a comment on the Spices Dragon website with what worked and what you adjusted. Recipes like this always get better with real kitchen feedback.